Inputを使ってbackground
- NVIDIA Gelato
- by yuichirou yokomakura
- 2009.11.18 Wednesday 10:47
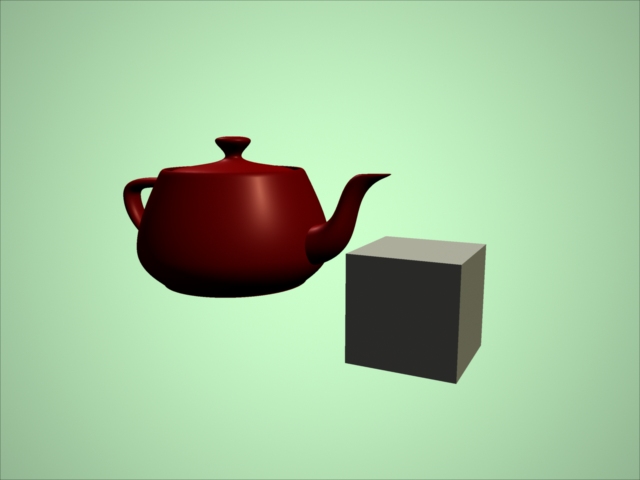
Imageシェーダのようなものがないので、Inputフォルダにあるbackplane.pygを利用した。ついでライト設定やcube、teapotを利用する。
#test.pyg

Output ("test.tif", "tiff", "rgb", "camera", "float gain", 1, "float gamma",

 1, "string filter", "gaussian", "float[2] filterwidth", (2, 2))

Attribute ("string projection", "perspective")

Attribute ("float fov", 45)

Attribute ("int[2] resolution", (640, 480))


Input("cameralights.pyg")


Rotate (-10.14, 1, 0, 0)

Rotate (26.57, 0, 1, 0)

Translate (-5, -2, 10)


World ()

Attribute ("color C", (0.8, 1, 0.8))

Input("backplane.pyg")


PushTransform()

Attribute ("color C", (1, 0, 0))

Shader ("surface", "plastic")

Translate(-2,-1,0)

Rotate(-90,1,0,0)

Input("teapot.pyg")

PopTransform()


PushTransform()

Attribute ("color C", (1, 1, 1))

Shader ("surface", "clay")

Translate(2,-1,0)

Input("cube.pyg")

PopTransform()


Render()
- -
- -