RenderMan 元になるRIBに、レイトレーシング関連のAttributeを
たとえば、
Attribute "visibility" "int diffuse" 1 # make objects visible to rays
Attribute "visibility" "int specular" 1 # make objects visible to rays
Attribute "trace" "bias" 0.005
と。加えておくと、出力したAutoRIBでは各オブジェクトのAttributeブロックに書き込まれていた。これは、コメントアウトしたり調整すれば良い。
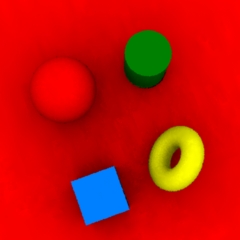
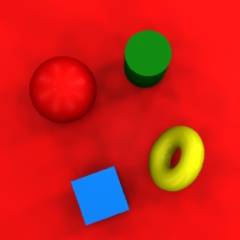
以下はレイトレーシングを使わないで疑似AOのInstruction Fileです。
36個のshadowspotを加えています。明るさを調整し、
LightSource "ambientlight" 1 "intensity" [0.01 ] "lightcolor" [0.85098 1 1]と影響を与えないように暗めにしました。
Option "depthfilter" "midpoint"

Option "convertshadows" 0

Option "zdriver" "shadow"


LightDome 33 [0 0 1] "shadowspot" 1000 1

Objects {

	Surface "*" "plastic"

	}

Lights

	{

		ForShaders "light" "shadowspot"

			{

				Omit "floor"

				MapFormat 512 512

                                AppendParam "light" "intensity" [ 220 ] "uniform float"

				AppendParam "light" "width" [ 8 ] "uniform float" //introduce a bit of softness

				AppendParam "light" "samples" [16] "uniform float"

				ShadowSpot "shadowname"

			}

	}
まだまだ実験する必要がありますが、
AutoRIBのlightdome機能いろいろと使っていきたいところです。
ありがとうございます。RenderMan面白い。
- -
- -