cgkit-2.0.0alpha9.win32-py2.5.exe
- python cgkit > python cgkit install
- by yuichirou yokomakura
- 2009.08.27 Thursday 11:00
cgkitがアップデートした。
ますますRenderMan互換レンダラーで便利に使える。
Python2.5でのcgkitのインストール注意点をまとめておく。
■必要なファイル
python-2.5.4.msi
PyOpenGL-3.0.1a2.win32.exe
PyODE-1.2.0.win32-py2.5.exe
pygame-1.8.1release.win32-py2.5.msi
PIL-1.1.6.win32-py2.5.exe
cgkit-2.0.0alpha9.win32-py2.5.exe
PyProtocols-0.9.3.zip
(msvcp71.dll)
■マイ コンピュータを右クリック
詳細設定→環境変数→システム環境変数のPATHを探して、「編集」をクリック。ここで変数値が選択状態になっているが、マウスでクリックして選択解除、他の設定を消さないように、変数値の最後の部分に次のパスを追加する。
;C:\Python25;C:\Python25\Scripts
■マシンを再起動。
以上をインストールしたら、
PyProtocols-0.9.3.zipをC:\Python25に解凍する。
■コマンドプロンプトから
C:\Python25\PyProtocols-0.9.3>python setup.py --without-speedups install
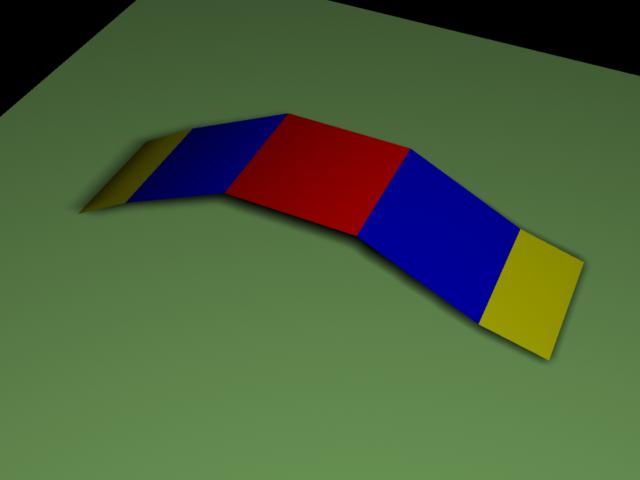
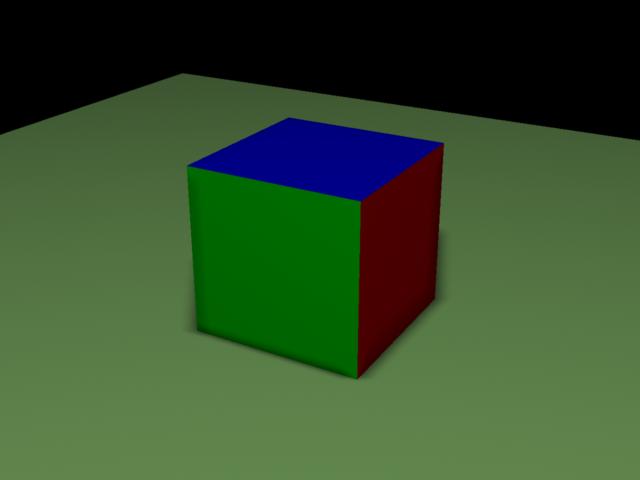
続いて、サンプルを動かしてみる。
C:\Python25>viewer.py demo1.py
Traceback (most recent call last):
File "C:\Python25\Scripts\viewer.py", line 63, in
from cgkit.all import *
File "C:\Python25\Lib\site-packages\cgkit\all\__init__.py", line 46, in
from cgkit import _core
ImportError: DLL load failed: 指定されたモジュールが見つかりません。
上記のエラーが出る場合はMicrosoft C++ Runtime Libraryがない。
msvcp71.dllを探してきて、Python25フォルダに入れておくとcgkitは動きます。
ますますRenderMan互換レンダラーで便利に使える。
Python2.5でのcgkitのインストール注意点をまとめておく。
■必要なファイル
python-2.5.4.msi
PyOpenGL-3.0.1a2.win32.exe
PyODE-1.2.0.win32-py2.5.exe
pygame-1.8.1release.win32-py2.5.msi
PIL-1.1.6.win32-py2.5.exe
cgkit-2.0.0alpha9.win32-py2.5.exe
PyProtocols-0.9.3.zip
(msvcp71.dll)
■マイ コンピュータを右クリック
詳細設定→環境変数→システム環境変数のPATHを探して、「編集」をクリック。ここで変数値が選択状態になっているが、マウスでクリックして選択解除、他の設定を消さないように、変数値の最後の部分に次のパスを追加する。
;C:\Python25;C:\Python25\Scripts
■マシンを再起動。
以上をインストールしたら、
PyProtocols-0.9.3.zipをC:\Python25に解凍する。
■コマンドプロンプトから
C:\Python25\PyProtocols-0.9.3>python setup.py --without-speedups install
続いて、サンプルを動かしてみる。
C:\Python25>viewer.py demo1.py
Traceback (most recent call last):
File "C:\Python25\Scripts\viewer.py", line 63, in
from cgkit.all import *
File "C:\Python25\Lib\site-packages\cgkit\all\__init__.py", line 46, in
from cgkit import _core
ImportError: DLL load failed: 指定されたモジュールが見つかりません。
上記のエラーが出る場合はMicrosoft C++ Runtime Libraryがない。
msvcp71.dllを探してきて、Python25フォルダに入れておくとcgkitは動きます。
- -
- -