最初のNVIDIA Gelatoその1
- NVIDIA Gelato
- by yuichirou yokomakura
- 2009.11.06 Friday 18:27
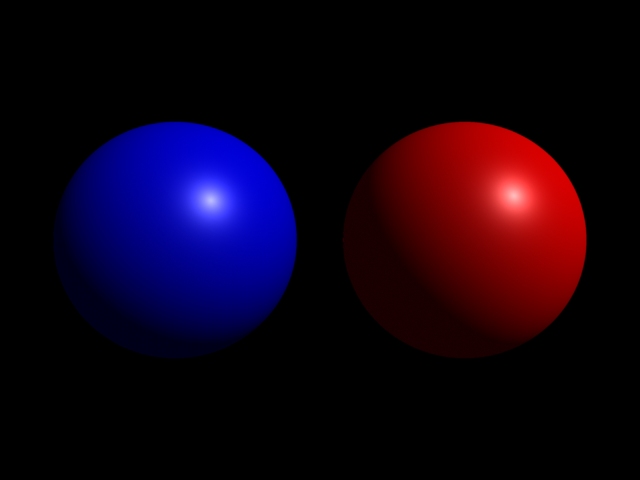
最初は簡単な球を表示してみましょう。
コマンドプロンプトから、下記のように打つとレンダリングか始まる。
>gelato -iv my_first.pyg
#my_first.pyg

Output ("my_first01.tif", "tiff", "rgb", "camera", "float gain", 1, "float gamma",

 1, "string filter", "gaussian", "float[2] filterwidth", (2, 2))

Attribute ("string projection", "perspective")

Attribute ("float fov", 45)

Attribute ("int[2] resolution", (640, 480))

Light ("light1", "ambientlight", "float intensity", 0.1)

Light ("light2", "distantlight", "point from", (1, 1, -1), "point to", (0, 0, 0)

, "float intensity", 1.5)

Translate (0, 0, 10)

World ()

Attribute ("color C", (1, 0, 0))

Shader ("surface", "plastic")

Sphere (3, -3, 3, 360)

Render()
- -
- -