「実践CGへの誘い」例題をPythonで・・その11
- python cgkit
- by yuichirou yokomakura
- 2010.11.23 Tuesday 19:08
「実践CGへの誘い」p.67
Listing 4.3
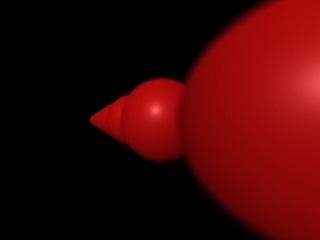
RiProjection ("perspective", "fov", 45)
と書き換えてみた。
Listing 4.3
#list43.py
#/* Copyrighted Pixar 1989 */
#/* From the RenderMan Companion p. 67 */
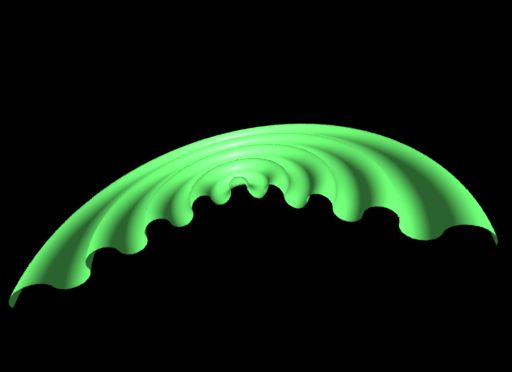
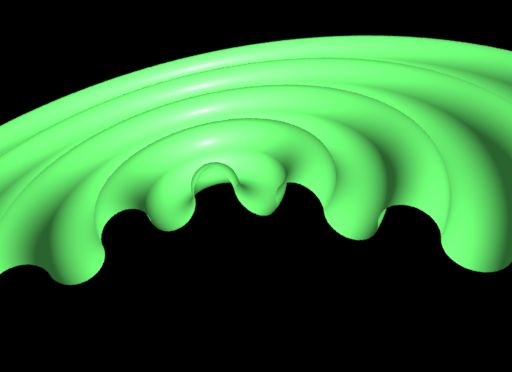
#/* Listing 4.3 Using RiTorus to create a wavelike pattern */
import cgkit.cri
from cgkit.cgtypes import *
# Load the RenderMan API.
# Replace the library name with whatever renderer you want to use.
ri = cgkit.cri.loadRI("3delight")
cgkit.cri.importRINames(ri, globals())
def TorusWave(nwaves, thetamax):
if nwaves < 1:
print "Need a positive number of waves\n"
#/* Divide the net radius 1.0 among the waves and the hemisphere */
innerrad = 2 / (8.0*nwaves + 2)
RiRotate(90.0, 1.0, 0.0, 0.0)
#/* Create the downward-opening hemisphere */
RiSphere(innerrad, -innerrad, 0.0, thetamax, RI_NULL)
outerrad = 0
for wave in range(1,nwaves+1):
#* Each iteration creates a downward-opening half-torus
#* and a larger upward-opening half-torus.
outerrad = outerrad + (innerrad * 2)
RiTorus(outerrad, innerrad, 0.0, 180.0, thetamax, RI_NULL)
outerrad = outerrad + (innerrad * 2)
RiTorus(outerrad, innerrad, 180.0, 360.0, thetamax, RI_NULL)
def Go():
TorusWave(4, 250.0)
RiBegin (RI_NULL) #/* Start Renderer */
RiDisplay("wavemain.tif", RI_FILE, "rgb", RI_NULL)
RiFormat( 512, 372, -1.0)
RiProjection ("perspective", RI_NULL)
RiWorldBegin ()
RiLightSource("ambientlight","intensity",0.4)
RiLightSource ("distantlight", RI_NULL)
RiAttributeBegin()
RiTranslate (-0.1, 0.0, 1.1)
RiRotate (50.0, -1.0, 1.0, 0.0)
RiColor((0.42,0.97,0.45))
RiSurface ("plastic", Kd=1.0)
Go()
RiAttributeEnd()
RiWorldEnd()
RiEnd()RiProjection ("perspective", "fov", 45)
と書き換えてみた。
- -
- -