こちらから,コンパイルされた,VTK 5.2.1 (ZIP, 11.9 MB) for Python 2.5 Win32 compiled with Visual Studio 2003. をダウンロードする。ありがとうございます。
http://www.lfd.uci.edu/~gohlke/
解凍して,C:\Python25\Lib\site-packagesへインストールした。
こちらのサンプル
http://www.nims.go.jp/cmsc/staff/arai/pythonvtk/sample.html
無事実行できました。
ありがとうございます。
from vtk import *
#from libVTKCommonPython import *
#from libVTKGraphicsPython import *
コメントアウトにしたら動いた。ありがとうございます。
http://www.imaging.robarts.ca/~dgobbi/vtk/vtkpython.html
vtkTkRenderWidget.dllをコンパイルしないといけない???
TKの方はエラーが出てしまいます。
こちらのサンプルも動きました。面白い!!!
http://d.hatena.ne.jp/kenmo/20050708
こちらを参考にして,参考の参考になります。
http://www.hp.phys.titech.ac.jp/serino/hippo.html
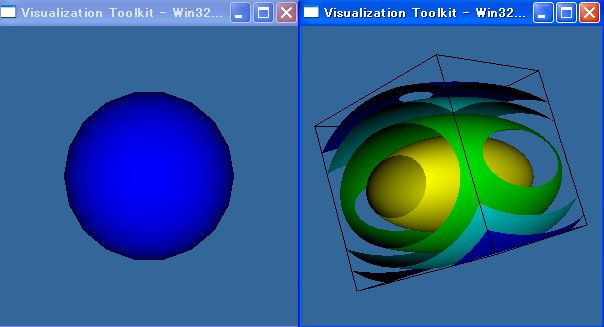
#rensyu.py
# -*- coding: utf-8 -*-
#qを押すと2つ目のウインドウがでる。
import vtk
sphere=vtk.vtkSphereSource()
sphere.SetRadius(1.0)
sphere.SetThetaResolution(18)
sphere.SetPhiResolution(18)
map = vtk.vtkPolyDataMapper()
map.SetInput(sphere.GetOutput())
aSphere = vtk.vtkActor()
aSphere.SetMapper(map)
aSphere.GetProperty().SetColor(0,0,1)
ren1 = vtk.vtkRenderer()
renWin= vtk.vtkRenderWindow()
renWin.AddRenderer(ren1)
iren = vtk.vtkRenderWindowInteractor()
iren.SetRenderWindow(renWin)
ren1.AddActor(aSphere)
ren1.SetBackground(0.2,0.4,0.6)
renWin.Render() #球体が表示される
iren.Start() #マウスで動かせる
quadric = vtk.vtkQuadric()
quadric.SetCoefficients(0.5,1,0.2,0,0.1,0,0,0.2,0,0)
sample = vtk.vtkSampleFunction()
sample.SetSampleDimensions(50,50,50)
sample.SetImplicitFunction(quadric)
contours = vtk.vtkContourFilter()
contours.SetInput(sample.GetOutput())
contours.GenerateValues(5,0.0,1.2)
contMapper = vtk.vtkPolyDataMapper()
contMapper.SetInput(contours.GetOutput())
contMapper.SetScalarRange(0.0,1.2)
contActor = vtk.vtkActor()
contActor.SetMapper(contMapper)
outline = vtk.vtkOutlineFilter()
outline.SetInput(sample.GetOutput())
outlineMapper = vtk.vtkPolyDataMapper()
outlineMapper.SetInput(outline.GetOutput())
outlineActor = vtk.vtkActor()
outlineActor.SetMapper(outlineMapper)
outlineActor.GetProperty().SetColor(0,0,0)
ren2 = vtk.vtkRenderer()
renWin2 = vtk.vtkRenderWindow()
renWin2.AddRenderer(ren2)
iren2 = vtk.vtkRenderWindowInteractor()
iren2.SetRenderWindow(renWin2)
ren2.AddActor(contActor)
ren2.AddActor(outlineActor)
ren2.SetBackground(0.2,0.4,0.6)
renWin2.Render()
iren2.Start()
おもしろいプログラム発見。
POVが出力できる。
http://www.antiprism.com/
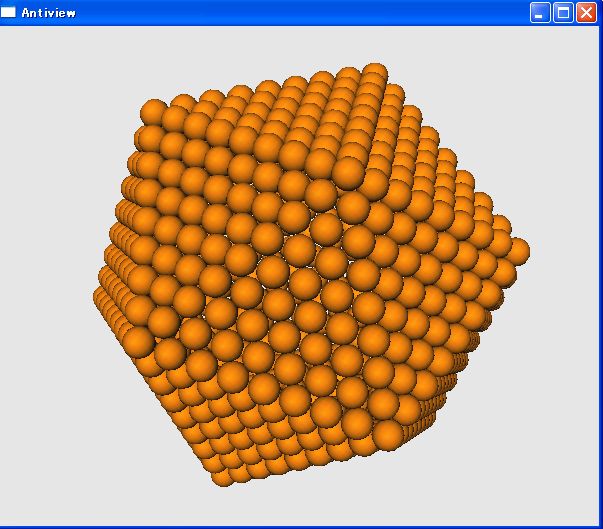
geodesic -M p 8 | antiview -v b -x ef
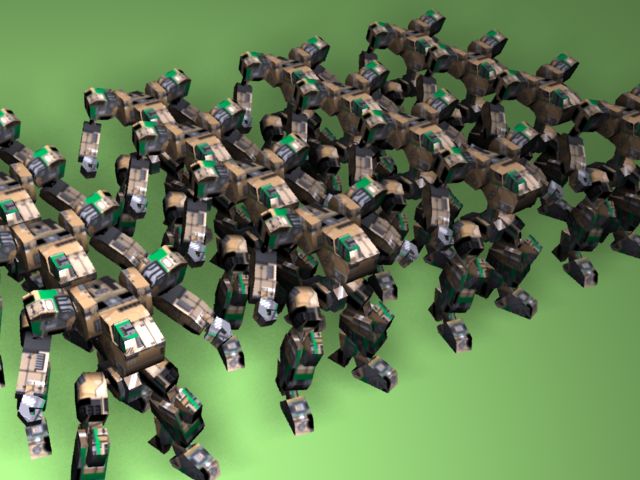
MetasequoiaからOBJで出力し、cgkitで49体に増やしてみる。
スポットライトはおススメ。3Delightでレンダリングは29秒。
SpotLight3DS( name = "SpotLight3DS",
enabled = True,
intensity = 1.2,
color = (1,1,1),
see_cone = False,
roll = 0.0,
outer_range = 0,
inner_range = 0,
attenuation = 0,
rectangular_spot = 0,
shadowed = True,
shadow_bias = 0.02,
shadow_filter = 4.0,
shadow_size = 256,
spot_aspect = 0,
use_projector = False,
projector = 0,
overshoot = False,
ray_shadows = False,
ray_bias = False,
hotspot = 80,
falloff = 90,
pos=(-300, 2000, 3000),
target = (0,0,0) )
なかなか勉強になります。
ありがとうございます。
Nendo1.1.6で作成したマッピングモデルをExportした。
まずは、wavefront objで、そのまま、調整してcgkitで読み込み、
マップはcube0.tifで出力されるが、cgkitはtiffに対応していないので、pngで保存。AirでRendering。スムースがきいてない。
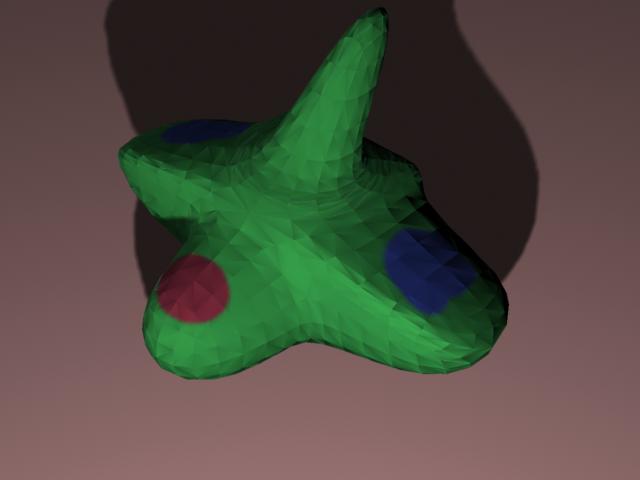
このobjをMetasequoiaにimportし、「v方向を反転」にチェックする。
マテリアルを設定しなおし、スムースをいれなおす。再度、export。すべてチェックを入れて保存(「v方向を反転」も入れておく)。
cgkitで読み込んでみる。スムースがOKになった。
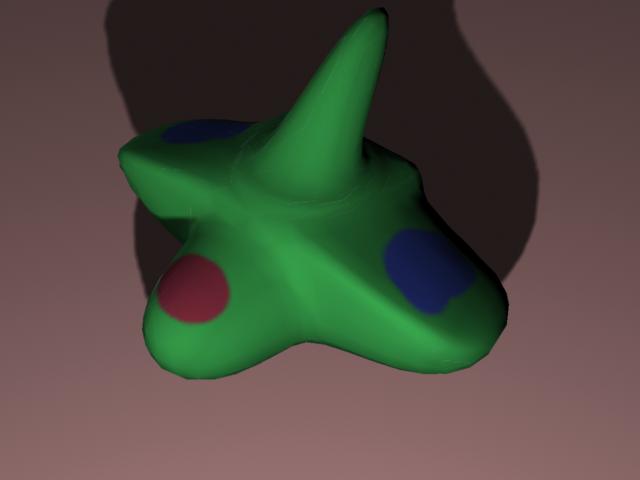
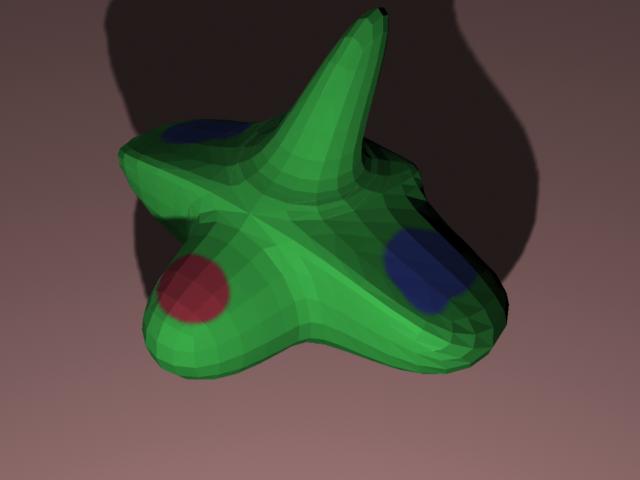
つづいて、Nendo1.1.6から3dsをexportする。
面がばらばらで独立しているようで、スムースがかからないことがわかった。メタセコイアで「オブジェクト」「近接する頂点をくっつける」「0.00」で1点にしたらスムースがかかるようになったが、再び3DSでexportしても、かからなかった。
cgkit+Darktree+AIRで連携してみる。
ひとつひとつ実験をしてみる。Airspaceで検証してから、cgkitにスクリプトをいれてみた。
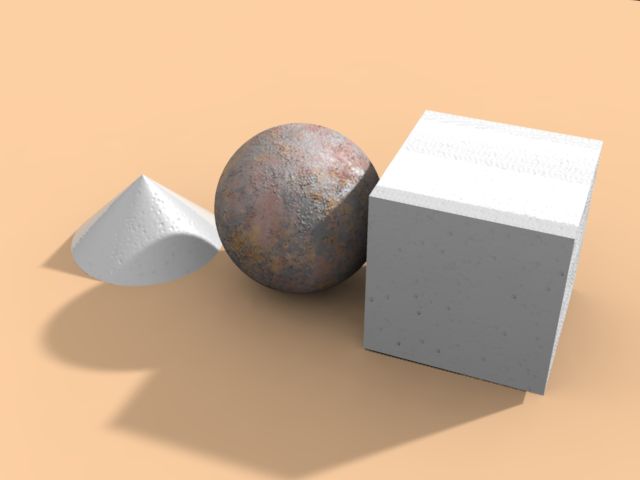
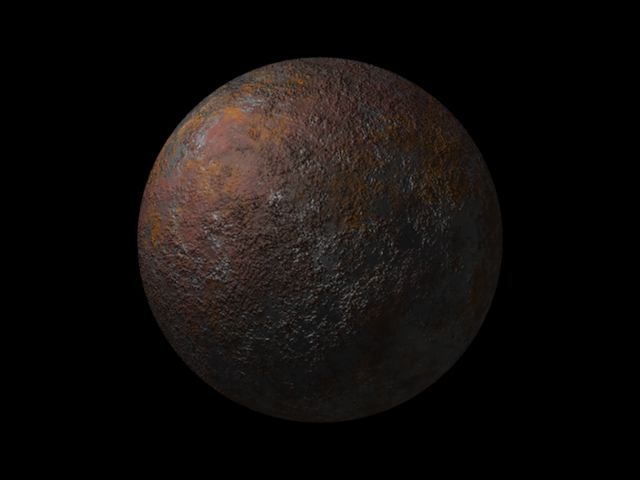
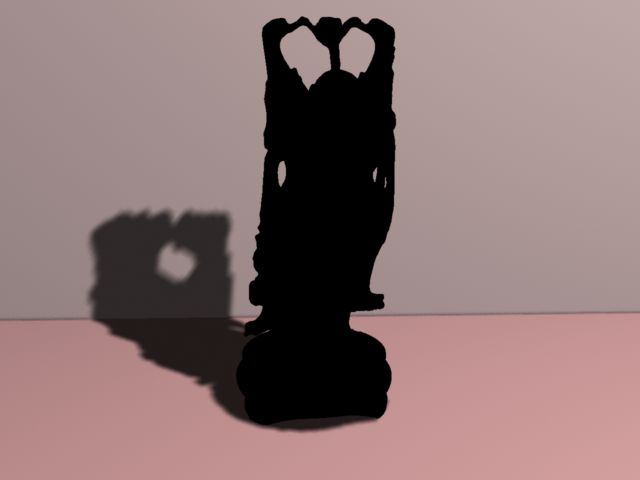
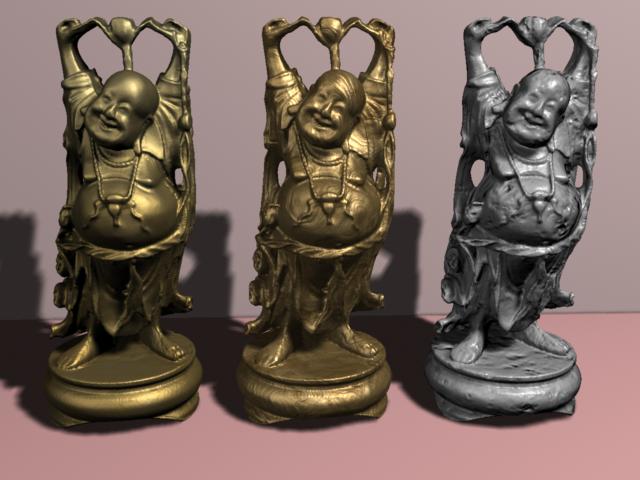
完成。レンダリングは、2分33秒ほど、Pentium4 2.4GHzです。
Happy Buddhaモデルは、研究用の3DモデルIndexed Face Set (IFS) から、
http://graphics.cs.brown.edu/games/brown-mesh-set/
もともとは、The Stanford 3D Scanning Repository
http://graphics.stanford.edu/data/3Dscanrep/
腐食したシェーダをかぶせていましたが、文化的、宗教的観点から
外しました。御利益高い「金」でいってみます。
ありがとうございます。
基本図形の面を使って、大きい面、例えば、X,Zが5000,5000の面を生成すると、ひずんだ表示になってしまう。手前のほうが切れて表示されたり、カメラをモデルから遠ざけても切れてしまう。
表示される範囲を広くするには、メニュー「表示」「視点の設定」で
「奥行き感」または「カメラ距離」のスライダを右側に動かすと調整できる。視野角を45度くらいを入れてみてもよい。
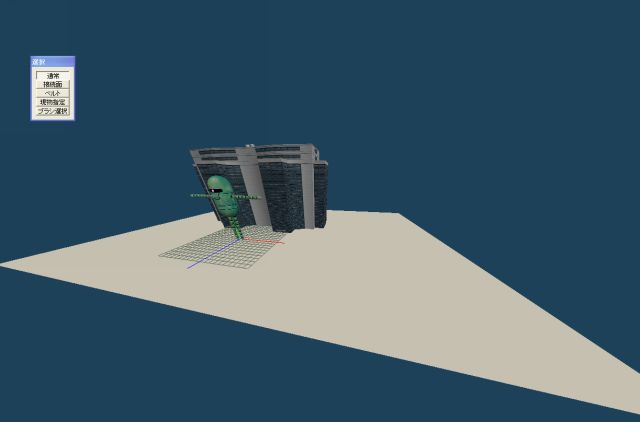
これで解決!!
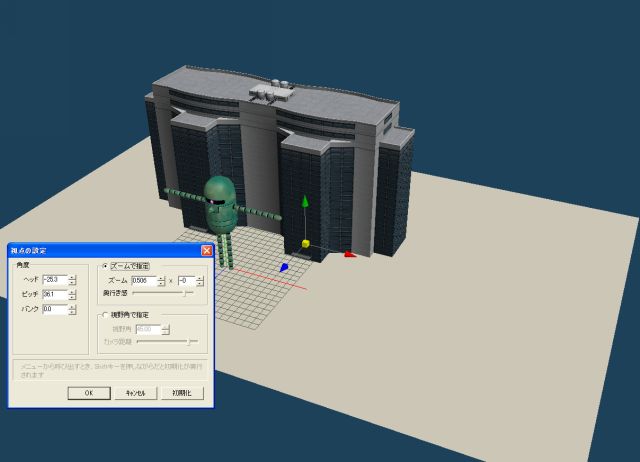
ネットのサンプルモデルを参考にしました。
ありがとうございます。
URLを明記しておこうと、検索してみたけど、わからなくなった。
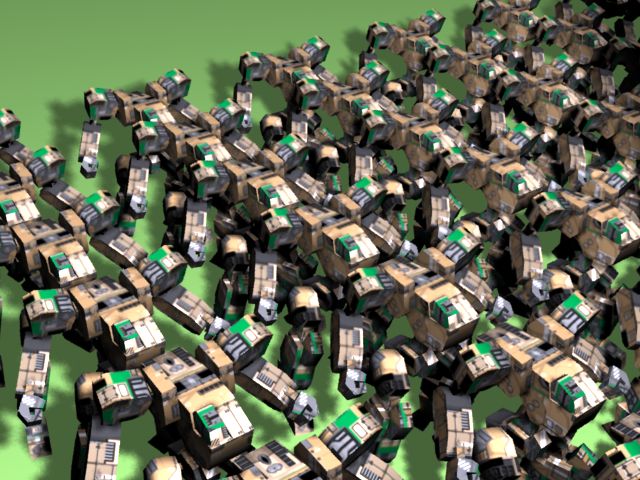
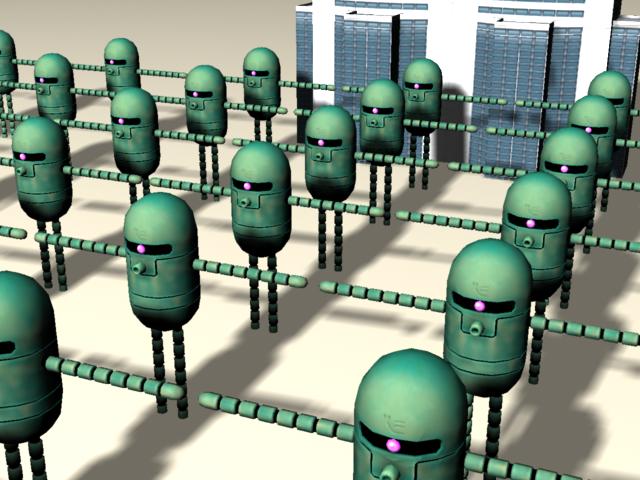
cgkitで100体並べてみる。サクサクと3Delightでレンダリングしました。
厨房から、トニーたけざきのサクだよと教えてもらいました。
さすが!! ありがとうございます。
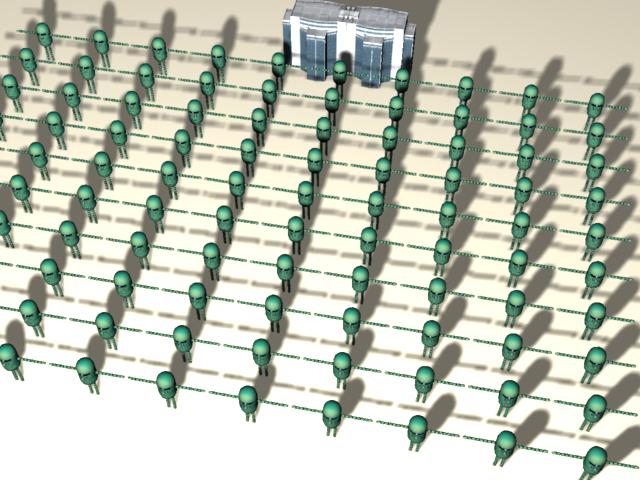
マップが反転しているようで、V方向の反転を再確認する必要あり。
AIRでレンダリング20秒。Pentium4 2.4GHz
cgkitのライトデータ
####################################
SpotLight3DS( name = "SpotLight3DS",
enabled = True,
intensity = 1.4,
shadowed = True,
shadow_size = 1024,
shadow_filter = 2.0,
shadow_bias = 0.001,
hotspot = 80,
falloff = 90,
pos=(-300, 5000, 10000),
target = (0,0,0) )
#####################################

